
How to Sharpen Woodworking Tools
Sharpening woodworking tools is essential. Dull tools can cause poor results and frustration.
Keeping your tools sharp ensures precision in your projects. Sharp tools cut cleaner and make your work easier. In woodworking, sharpness can mean the difference between a smooth finish and a rough one. This guide will show you how to sharpen your tools effectively.
You will learn the techniques and tools needed for the job. Whether you are a beginner or experienced, sharpening skills are crucial. Read on to improve your woodworking experience with sharper tools.
Importance Of Sharp Tools
Having sharp tools in woodworking is essential. Sharp tools enhance precision, improve the quality of your work, and make tasks easier and safer. Dull tools can cause frustration, increase the risk of accidents, and produce inferior results.
Benefits Of Sharp Tools
Sharp tools offer numerous advantages:
- Make cleaner cuts
- Require less effort
- Reduce the risk of injury
- Increase efficiency
- Extend the life of your tools
With sharp tools, you get smooth surfaces and accurate dimensions. This precision is crucial for high-quality woodworking projects. Your work will look more professional and polished.
Risks Of Dull Tools
Using dull tools can lead to several problems:
- Rough, uneven cuts
- Greater physical strain
- Higher chance of slipping
- More frequent tool damage
- Increased project time
Dull tools can cause tear-out and splintering, ruining your workpiece. The extra force needed can result in slips, leading to potential injuries. Additionally, dull blades can wear out faster, costing you more in the long run.
For these reasons, maintaining sharp tools is essential for any woodworker. Regularly sharpen your tools to keep your projects on track and ensure your safety.
Choosing The Right Tools

- New Angle Fixing Tool – This honing guide can secure and fine-tune the angle where the chisel edge meets the whetstone, …
- Optional Sharpening Angles – Get the standard sharpening angles by adjusting the distance between the top of the chisel …
- Wide Roller Attached – With the widened bearings-roller at the bottom, you could just scroll and forth to easily sharpen…
Sharpening woodworking tools is essential for precise and efficient work. Choosing the right tools for sharpening can make the task easier and more effective. In this section, we will discuss essential sharpening tools and optional accessories to help you get the best results.

Essential Sharpening Tools
For basic sharpening tasks, you need a few essential tools. These tools are crucial for maintaining sharp edges on your woodworking tools:
- Sharpening Stones: These come in various types such as oil stones, water stones, and diamond stones. Each type has its own benefits and can sharpen different tools effectively.
- Honing Guide: This tool helps you maintain a consistent angle while sharpening. It is especially useful for beginners.
- Strop: A strop is used for final polishing and removing any burrs left after sharpening. It can be made of leather or other materials.
- Lubricants: Oil or water is used with sharpening stones to reduce friction and carry away metal particles.
Optional Accessories
While essential tools are necessary, optional accessories can enhance the sharpening process. Consider adding these items to your toolkit:
- Angle Finder: This tool helps you measure and set the correct sharpening angle. It’s helpful for maintaining consistency.
- Diamond Plates: These are used for flattening water stones and ensuring they remain effective.
- Sharpening Jigs: These devices hold your tools in place, making the sharpening process easier and more accurate.
- Protective Gloves: These gloves protect your hands from sharp edges and provide a better grip.
Using the right tools and accessories can make sharpening woodworking tools easier and more efficient. With the right equipment, you can achieve sharp, precise edges on all your woodworking tools.
Preparing For Sharpening
Before sharpening your woodworking tools, it’s crucial to prepare properly. This ensures safety and efficiency. By taking the right steps, you protect both yourself and your tools. Below are key steps you should follow.
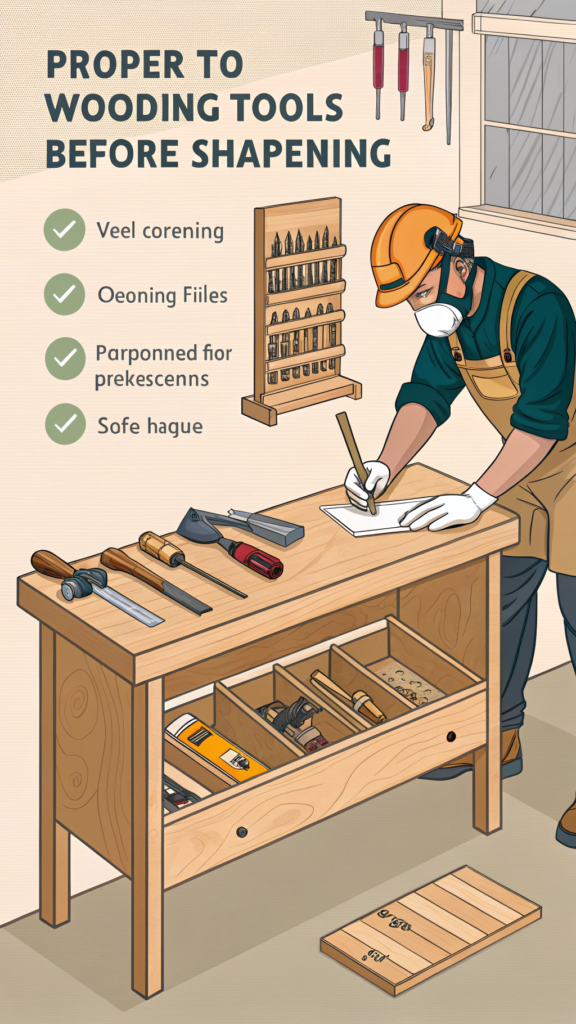
Safety Precautions
Wear safety goggles to protect your eyes from flying debris. Gloves are essential to avoid cuts and abrasions. Ensure your tools are securely fastened during sharpening. A firm grip prevents accidents. Keep a first aid kit nearby. It’s better to be prepared for any mishaps.
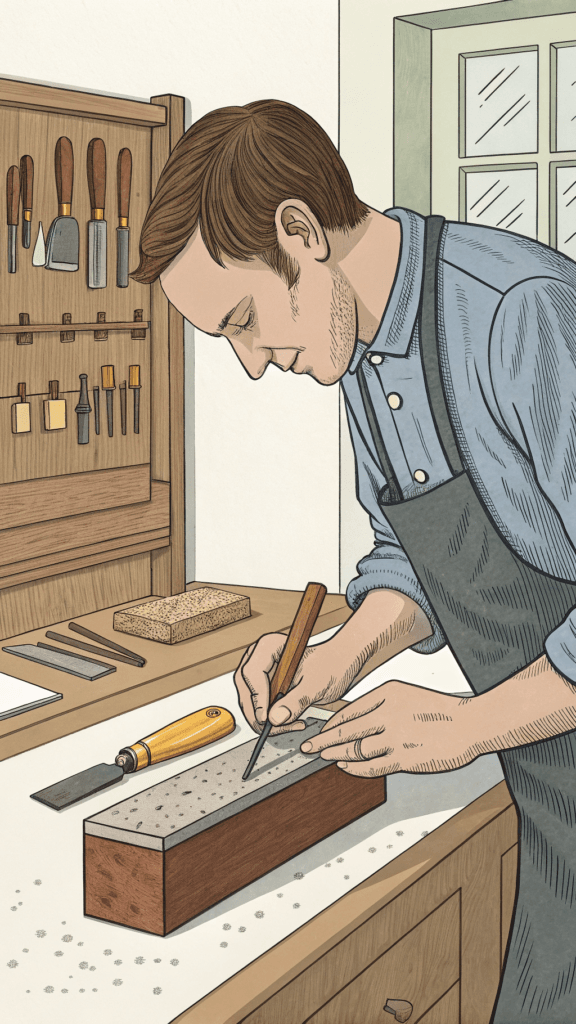
Workspace Setup
Choose a well-lit area for sharpening. Good lighting helps you see fine details. Clear your workspace of clutter. A tidy area prevents distractions and accidents. Secure your sharpening stone or tool. Stability is key for precise sharpening. Keep all your sharpening supplies within reach. This includes stones, oils, and rags. An organized workspace boosts efficiency and safety.
Sharpening Techniques
Sharpening woodworking tools is essential for precise and efficient work. Sharp tools make cleaner cuts and reduce effort. Different techniques exist to achieve sharp edges. Below, we explore two key methods: manual sharpening and using power tools.

Manual Sharpening
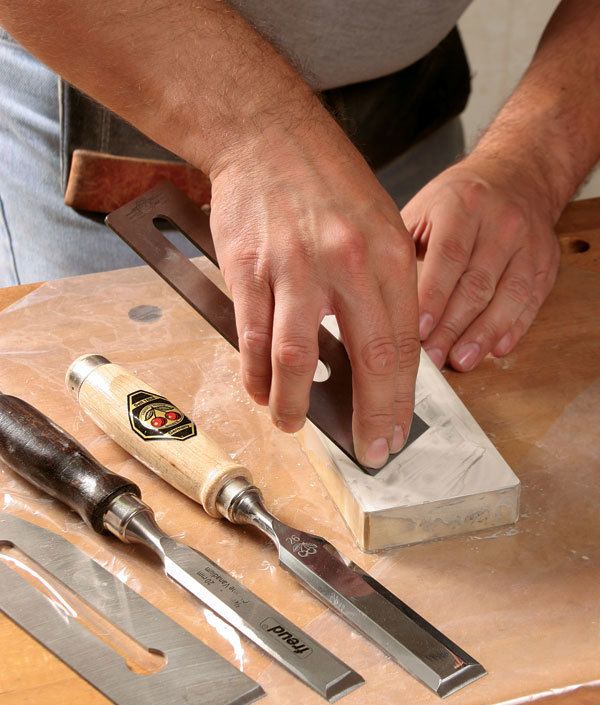
Manual sharpening requires patience and skill. Start with a sharpening stone. Wet the stone with water or oil. Hold the tool at the correct angle. Move it back and forth across the stone. Use consistent pressure to avoid uneven edges. Check your progress often. Switch to finer grit stones for a polished edge. Stropping helps refine the edge further. Use a leather strop with polishing compound. This removes any remaining burrs.
Using Power Tools
Power tools speed up the sharpening process. A bench grinder is common. Use a fine grit wheel to avoid overheating. Keep a steady hand to maintain control. An angle guide helps with consistent angles. A belt sander can also be effective. Use it with fine grit belts for smooth results. Wet grinding systems are another option. They keep the tool cool and reduce the risk of damage. Always wear safety gear when using power tools.
Sharpening Chisels
Sharpening chisels is a fundamental skill in woodworking. Sharp chisels make cleaner cuts and provide better control. A dull chisel, on the other hand, can be frustrating and dangerous. Learning to sharpen your chisels properly can save time and improve your work quality.
Honing Guides
Using a honing guide can simplify the sharpening process. It holds the chisel at a consistent angle, ensuring even sharpening. Here’s how to use a honing guide:
- Insert the chisel into the guide.
- Adjust the guide to the desired angle.
- Tighten the screws to secure the chisel.
A honing guide is particularly useful for beginners. It removes the guesswork from maintaining the proper angle.
Angle Consistency
Maintaining a consistent angle is crucial for effective sharpening. Most chisels are sharpened at a 25 to 30-degree angle. Here’s a simple method to ensure angle consistency:
- Set up your honing guide.
- Mark the angle on a piece of wood.
- Use this mark as a reference while sharpening.
Angle consistency helps achieve a sharp edge and extends the life of your chisel.
Pro Tip: Use a whetstone or a diamond stone for the best results. These tools provide a smooth surface for sharpening.
Keep your chisels sharp and ready for your next project. Happy woodworking!
Sharpening Planes
Keeping your planes sharp is essential for smooth, precise woodworking. This guide will show you how to sharpen your planes effectively. We’ll focus on the key steps: Blade Removal and Sharpening the Iron.

Blade Removal
First, you need to remove the blade from the plane. Follow these steps:
- Loosen the Lever Cap: Use the lever cap screw to loosen the cap. This will release the tension on the blade.
- Remove the Blade Assembly: Carefully lift out the blade assembly. This includes the blade (iron) and the cap iron.
- Separate the Iron and Cap Iron: Unscrew the cap iron from the blade. This will give you access to the blade for sharpening.
Sharpening The Iron
Now that the blade is removed, it’s time to sharpen it. Follow these steps:
- Prepare a Sharpening Surface: Use a sharpening stone or a diamond plate. Ensure it is flat and clean.
- Set the Sharpening Angle: Use a honing guide to set the correct angle. Typically, this is around 25 to 30 degrees.
- Sharpen the Bevel: Move the blade back and forth on the stone. Apply even pressure and maintain the angle.
- Polish the Back: Lay the blade flat on the stone. Polish the back to remove any burrs.
- Test the Sharpness: Check the edge by cutting a piece of wood. It should slice through easily.
Regular maintenance of your plane’s blade will ensure smooth cuts and precise woodworking. Happy sharpening!
Maintaining Sharpness
Maintaining the sharpness of your woodworking tools is crucial for efficient work. Sharp tools make cleaner cuts, reduce effort, and improve safety. Regular care ensures your tools stay in top condition. This section covers essential tips for keeping your tools sharp.
Regular Maintenance
Regular maintenance is key to keeping tools sharp. Clean your tools after each use. Remove any debris, sap, or resin. These can dull the blade over time. Use a soft brush or cloth for cleaning.
Check the edges for nicks or dull spots. Use a sharpening stone or honing guide to touch up the blades. Sharpening little and often keeps tools in good shape. It’s easier than waiting until they are very dull.
Storage Tips
Proper storage prevents damage to your tools. Store tools in a dry place to avoid rust. Use a tool rack or a dedicated drawer. Keep the blades protected. Blade guards or sheaths are helpful.
Avoid piling tools on top of each other. This can cause nicks and dull spots. Organize your tools to keep them separate and easy to find. This keeps them sharp and ready for use.
Troubleshooting Common Issues
Sharpening woodworking tools can sometimes present challenges. Even with the best techniques, issues can arise. Understanding these common problems will help you achieve better results. Let’s explore some frequent issues and how to solve them.
Uneven Edges
Uneven edges often occur during sharpening. This happens when you apply uneven pressure. Check your technique and make sure you use consistent pressure on both sides. Another tip is to inspect your tool’s angle. Ensure the angle remains steady through the sharpening process.
Burr Removal
A burr is a thin, jagged edge that forms after sharpening. Removing burrs is essential for smooth cuts. Use a fine-grit stone or sandpaper for this task. Lightly run the tool’s edge against the stone to remove the burr. Repeat this process until the edge feels smooth.
Frequently Asked Questions
How Often Should I Sharpen Woodworking Tools?
Sharpen your woodworking tools regularly. Ideally, sharpen them after every few hours of use. Frequent sharpening maintains their efficiency and precision.
What Tools Do I Need To Sharpen Woodworking Tools?
You need sharpening stones, honing guides, and a strop. These tools help achieve a sharp and polished edge.
Can I Sharpen Woodworking Tools Myself?
Yes, you can sharpen woodworking tools yourself. Follow proper techniques and safety guidelines for effective results.
What Is The Best Angle For Sharpening Tools?
The best angle for sharpening woodworking tools is 25 to 30 degrees. This angle ensures optimal sharpness and durability.
Conclusion
Sharpening woodworking tools is essential for precise and efficient work. Dull tools slow progress and can damage wood. Keep your tools sharp to save time and effort. Regular maintenance prevents costly replacements. Practice these sharpening techniques to keep tools in top shape.
Enjoy smoother cuts and better results. Happy woodworking!


